
A Professional Guide to Growing Marijuana Outdoors (2026 Edition)
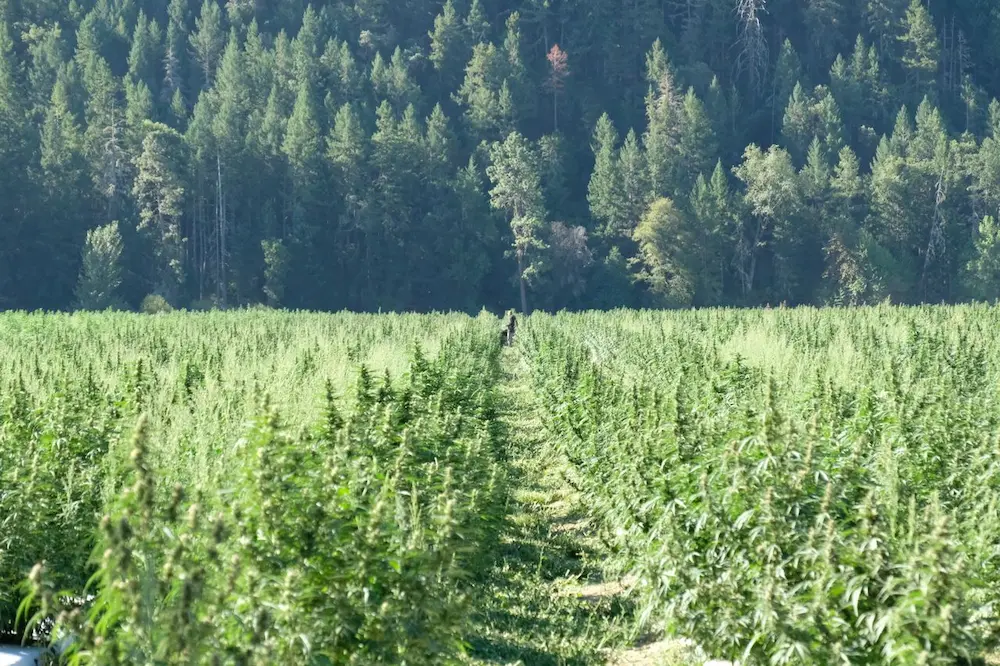
Growing marijuana outdoors is a journey that connects the cultivator with the primal rhythms of the earth. While indoor cultivation provides clinical control, outdoor gardening allows plants to reach their full, massive genetic potential by harnessing the sun’s raw, full-spectrum light and the complex, living biology of the soil. Whether you are aiming for a multi-pound harvest or seeking to produce high-quality, terpene-rich sun-grown flowers, this guide provides the professional blueprint you need to succeed in 2026.
The Foundation: Strategic Planning
Success in growing marijuana outdoors is 80% preparation. Before you purchase a single seed, you must evaluate your environment, climate, and local legal landscape.
Understanding Climate and Micro-Climates
Cannabis is a warm-weather plant that evolved in temperate regions. To thrive, it requires stable temperatures—ideally above 50°F (10°C) at night—to avoid stunted growth.
- The Seasonal Window: You must identify your "last frost" and "first frost" dates. If you reside in a region with a short growing season (like northern latitudes), you must prioritize fast-flowering strains or hardy autoflowers.
- Micro-Climates: Your backyard is not uniform. A south-facing wall often retains heat, creating a micro-climate that can be 5 degrees warmer than the rest of the yard. Conversely, low-lying areas often accumulate morning frost or moisture. Spend time observing where the sun hits and where water pools on your property before committing to a planting site.
Advanced Genetic Selection: Phenotype Hunting
Understanding how to read seed breeder descriptions is the hallmark of a master grower.
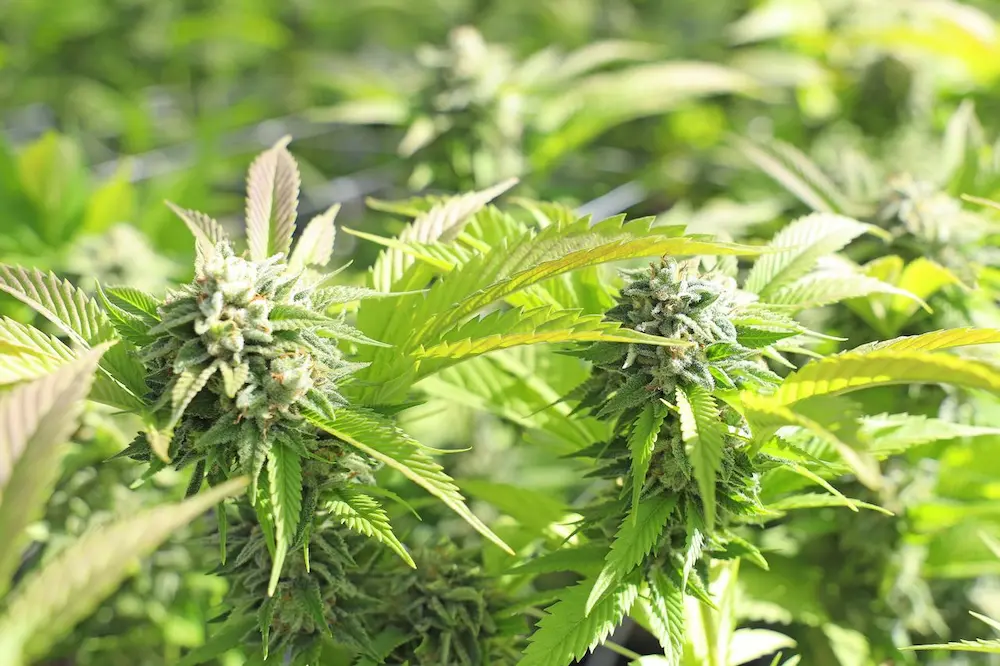
- Landrace vs. Hybrid: Landrace strains are "pure" varieties that evolved in specific regions (e.g., Hindu Kush, Thai). They are highly resilient but can be finicky. Hybrids are bred for specific traits like yield, flavor, or speed.
- Phenotype Hunting: Even within a single pack of seeds, each plant is a unique individual—a "phenotype." When growing outdoors, you are essentially "hunting" for the specific expression that thrives in your unique soil and sun exposure. Take notes on each plant’s growth rate, stem strength, and resistance to pests; the plant that thrives best in your backyard is the one you should clone for next year.
Site Selection: The Holy Trinity of Light, Privacy, and Airflow
The perfect outdoor spot is rarely found—it is often engineered.
- Sunlight: Cannabis is a sun-worshipper. Your site must receive at least 6–8 hours of direct, unfiltered sunlight. Partial shade leads to "stretching," where the plant grows tall and spindly, resulting in airy, low-density buds.
- Stealth and Privacy: In 2026, even in legal jurisdictions, discretion remains a virtue. Use tall shrubs, decorative fencing, or trellises to obstruct the view from neighbors or public footpaths. Avoid placing plants directly next to busy trails or fences where they might attract casual attention.
- Airflow: Stagnant air is the enemy of the outdoor grower. Fungal spores and pests thrive in still, humid pockets. A spot with a gentle, consistent breeze strengthens the plant’s stems (increasing structural integrity) and keeps the foliage dry, which is the most effective defense against botrytis (bud rot).
Seedling Management and the Hardening-Off Process
Never move a plant directly from an indoor environment to the outdoors; it is a recipe for disaster.
The Indoor Head-Start
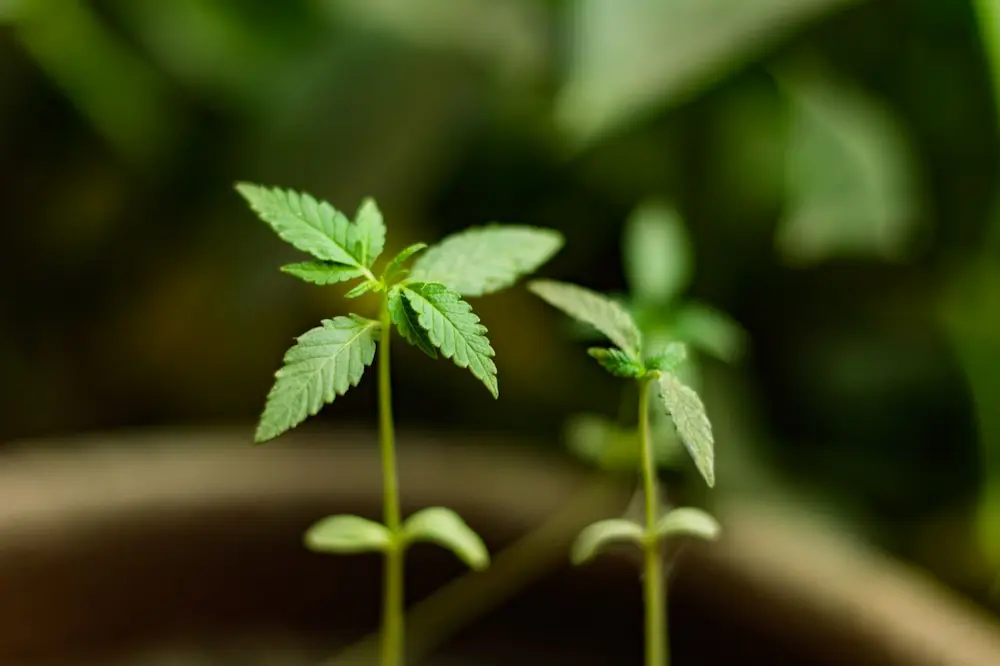
Start your seeds indoors under a simple LED grow light or on a warm, south-facing windowsill. The outdoors is a hostile environment for infants; slugs, snails, birds, and erratic weather can wipe out a tiny seedling in one night. By keeping them indoors until they develop at least three sets of "true leaves," you ensure the plant has the vitality required to defend itself.
Check out our guide: How To Germinate Cannabis Seeds Using Peat Pellets (Easy Step-by-Step Guide)
The Hardening-Off Protocol
The transition phase is where most beginners fail. Indoor plants are accustomed to stable temperatures and low-intensity light.
- 1–2: Place plants in a shaded outdoor area for 1–2 hours.
- Days 3–4: Introduce them to 2 hours of direct morning sun.
- Days 5–7: Gradually increase the duration of direct light until they can withstand a full day outdoors.
Substrate and Root Zone Engineering
The root system is the engine of the plant. A healthy, oxygenated root system leads to massive, dense flowers.
The Fabric Pot Advantage
While planting in the ground is traditional, we recommend fabric grow bags for most growers.
- Air-Pruning: As roots reach the edge of a fabric pot, they encounter air and stop growing, which forces the plant to branch out internally. This creates a dense, fibrous root ball instead of a single, circling root system that can eventually strangle the plant.
- Oxygenation: Roots need to breathe. Plastic pots can bake in the sun, cooking the root zone and limiting oxygen. Fabric pots keep the roots cool and oxygenated even on the hottest days.
Recommended: great quality fabric pots
In-Ground Bed Preparation
If you choose ground planting, do not trust native soil. Most native soil is either too dense or lacks the specific biology needed for high-performance cannabis.
- Excavation: Dig a hole at least 24 inches deep and 24 inches wide.
- Amendment: Fill it with a mixture of 40% organic compost, 40% coco coir or peat moss, and 20% perlite for drainage.
- Inoculation: Add mycorrhizal fungi when transplanting. These beneficial fungi form a symbiotic relationship with your roots, effectively extending their reach and helping them absorb nutrients far more efficiently.
Nutrition and Irrigation: The Fuel Strategy
Outdoor plants in containers require more frequent feeding than indoor plants due to evaporation.
Irrigation Mastery
Watering is a science of "wet/dry cycles." Never keep the soil saturated.
- The Weight Test: Lift your container daily. If it feels light, it is time to hydrate. If it feels heavy, wait.
- Deep Watering: When you water, do it slowly until you see about 10–20% runoff at the base. This ensures the entire root zone is saturated and prevents salt buildup from fertilizers.
The Organic Nutrient Schedule
- Vegetative Phase (Spring/Early Summer): Focus on Nitrogen-rich sources like fish emulsion or kelp meal. This supports rapid foliage and stem development.
- Flowering Phase (Late Summer/Autumn): Shift to Phosphorus (P) and Potassium (K)-heavy sources like bat guano or bone meal. These are the "bloom builders" that pack density into your buds.
- The Soil Microbiome: Using organic nutrients feeds the soil microbes, not just the plant. This creates a living ecosystem that acts as a buffer against pH fluctuations and nutrient deficiencies.
Advanced Canopy Management
To maximize the yield of growing marijuana outdoors, you must train the plant to capture light efficiently.
- Topping: When the plant has 4–5 nodes, snip off the main growing tip. This forces the plant to distribute energy to secondary branches, creating two main tops instead of one. Repeatedly topping during the vegetative stage results in a bush with 16 or more main colas.
- LST (Low-Stress Training): Use soft garden ties to gently pull branches outward. This flattens the canopy, allowing light to reach lower nodes that would otherwise be shaded by the large "fan leaves."
- Defoliation: In the early flowering phase, carefully remove large fan leaves that are blocking light from lower bud sites. This also improves airflow through the plant, reducing the risk of mold.
IPM: The Seasonal Pest and Disease Calendar
Outdoor growing is an exercise in ecological management. Use this calendar to stay ahead of the curve.
- Spring (Germination/Seedling): Focus on prevention. Use physical barriers (copper tape for slugs, chicken wire for rabbits/deer).
- Early Summer (Vegetative): Scout weekly for spider mites and aphids. If you see them, act immediately with insecticidal soap or neem oil (vegetative stage only). Introduce beneficial insects like ladybugs.
- Late Summer (Early Flowering): Apply Bacillus thuringiensis (BT). This is the gold standard for outdoor growers; it specifically targets caterpillars without harming your plants or beneficial pollinators.
- Early Autumn (Harvest Preparation): Watch for bud rot. If you see any browning or "dead" spots in a dense bud, remove that section immediately with sterilized shears.
Debunking Common Outdoor Myths
There is a lot of "bro-science" in the cannabis community. Let’s clear the air:
- "Burying Fish Heads": While nitrogen-rich, burying raw fish can attract raccoons, dogs, and other scavengers that will dig up and destroy your plants. Use processed fish emulsion instead.
- "Human Urine as Fertilizer": While urine contains nitrogen, it is high in salts and can vary wildly in concentration, leading to unpredictable nutrient burn. Use professionally formulated organic nutrients.
- "The Larger the Pot, the Better": Beyond a certain size (usually 30–50 gallons), the benefits diminish. A well-managed 20-gallon fabric pot can produce a massive, 2-pound plant if fed correctly.
Harvest and Curing: The Final Mile
You have invested months; do not rush the finish.
Determining Peak Harvest
Harvesting too early produces a "racy" high with little depth. Harvesting too late results in a heavy, lethargic effect.
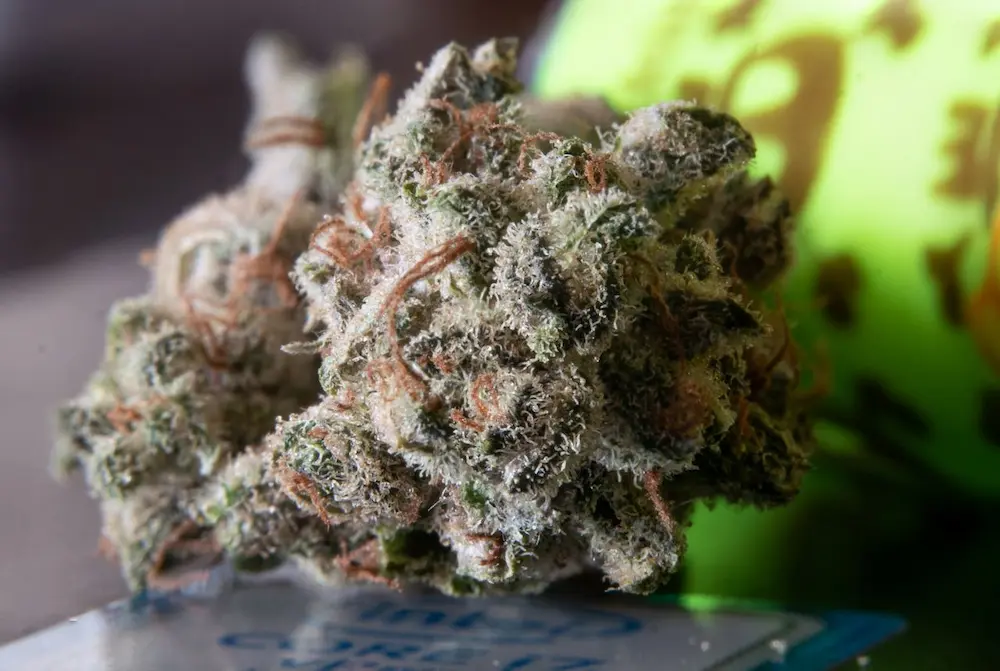
- The Loupe Method: Use a 60x magnification jeweler’s loupe to inspect the trichomes (resin glands).
- Clear: Not ready.
- Milky White: Peak THC levels.
- Amber: THC is degrading into CBN (more sedative).
- Goal: For most, 80% milky and 20% amber is the "sweet spot."
The Bud Wash Technique
Outdoor plants are magnets for dust, pollen, and debris. A "bud wash" is standard practice for professional outdoor growers.
- Bucket 1: Water with 1 cup of lemon juice and 1 cup of baking soda. This neutralizes the pH and kills any microbial mold spores.
- Bucket 2: Plain, clean water for rinsing.
- Bucket 3 A final rinse to ensure no residue remains. Gently dunk and swirl your branches, hang them to drip dry, and you will be shocked at the amount of debris this removes.
The Cure
Hang branches in a dark, cool space (60°F / 15°C) with 60% humidity. After 7–14 days, the branches should snap rather than bend. Trim the buds and place them in glass jars. "Burp" the jars (open them) for 10 minutes daily for the first two weeks. This slow process allows chlorophyll to break down, resulting in the smooth, flavorful smoke that distinguishes home-grown from commercial product. For more information, read our comprehensive guide: to cure cannabis read our comprehensive guide.
Disclaimer: Always verify your local 2026 regulations regarding home cultivation limits, security, and medical/recreational laws in your specific region before beginning your grow. Cultivation laws vary significantly by jurisdiction.