
Building the ideal dirt foundation for outdoor cannabis
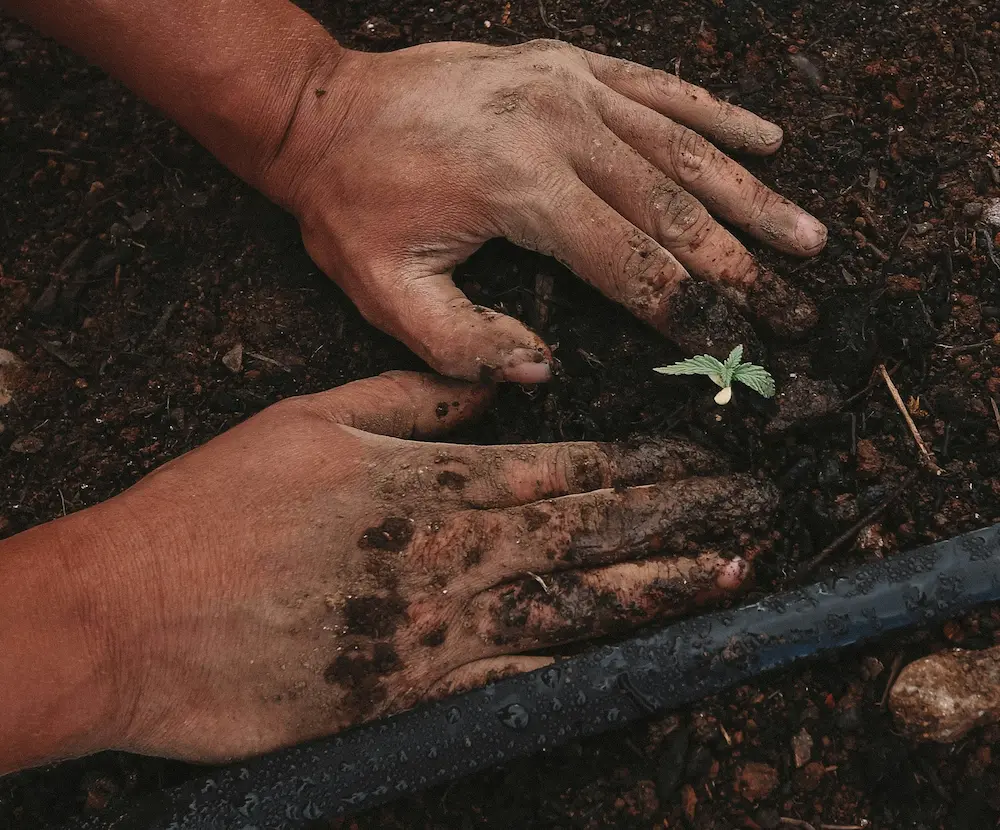
The secret to a heavy, high-quality harvest doesn't just lie in the seeds you choose or the amount of sunlight your garden gets—it begins deep down in the dirt. Cannabis can be a demanding plant, and outdoor growing exposes your crops to variables that indoor growers never have to face. Getting your outdoor medium dialed in takes some upfront planning, but your autumn yields will reward the effort.
Cannabis soil: texture and composition
Successful outdoor cannabis cultivation relies on soil that drains excess water efficiently while retaining just enough vital moisture. The gold standard for this is loamy soil—a balanced natural mix typically comprised of roughly 40% sand, 40% silt, and 20% clay. Sand brings in fine mineral particles that promote rapid drainage, while silt and clay feature much finer particles that slow water down and lock in baseline moisture.
You can easily check your native garden soil texture with a quick DIY jar test. Just fill a glass jar halfway with your dirt, top it with water, shake it vigorously, and let it settle. The distinct layers will show you the exact ratio of sand, silt, and clay you are working with.
If your native earth is too dense or too sandy, you can modify it. Heavy clay needs coarse sand, perlite, or gypsum to loosen its compacted structure and improve aeration. Sandy soils benefit from organic matter like well-aged compost, worm castings, or peat to boost water retention. To enrich poor garden earth, mix in organic amendments such as blood meal, bone meal, bat guano, or aged manure. Alternatively, you can bypass native dirt entirely by using pre-formulated commercial bagged soils in raised beds or pots.
Regulate pH of your soil
Cannabis is famously finicky about nutrient uptake, and everything hinges on your soil’s pH level. The ideal sweet spot for outdoor soil sits between 6.0 and 6.7. If your pH drifts too far outside this range, your plants experience nutrient lockout. Even if essential minerals are abundantly present in the dirt, the roots become chemically unable to absorb them, leading to deficiencies, stunted growth, and lower yields. Always test your soil with a reliable digital meter before applying any corrective amendments.
Fixing an off-balance pH is straightforward. If your soil is too acidic and the pH is running low, mixing in agricultural lime will raise the alkalinity. If your soil is too alkaline, applying elemental sulfur allows soil bacteria to convert it into sulfuric acid, safely bringing the pH down to that optimal window.
Sterilize your cannabis soil
Using high-grade commercial soil means you can skip sterilization entirely. However, digging straight into native garden soil often invites unwanted pests, weed seeds, and fungal pathogens. If you want to clean your earth without relying on harsh chemicals, solarization is a great method for larger plots. You just till your soil thoroughly, water it deeply, and cover the area tightly with a sheet of clear UV-resistant plastic. The plastic traps solar radiation, and the soil needs to sustain temperatures around 45°C to 46°C (113°F to 114°F) for roughly 4 to 6 weeks to successfully eradicate harmful microbes.
If you are working on a smaller scale, steam sterilization is much faster. You can funnel steam through your tilled earth using household equipment like a large pressure cooker or a grid setup over boiling water. Once the core soil temperature hits 80°C to 90°C (176°F to 194°F), those harmful pathogens are eliminated. If thermal sterilization sounds too intensive, you can introduce biological controls instead—such as beneficial nematodes, mycorrhizal fungi, and beneficial bacteria—to naturally crowd out and manage bad pests.
Should you plant it in the ground or use pots?
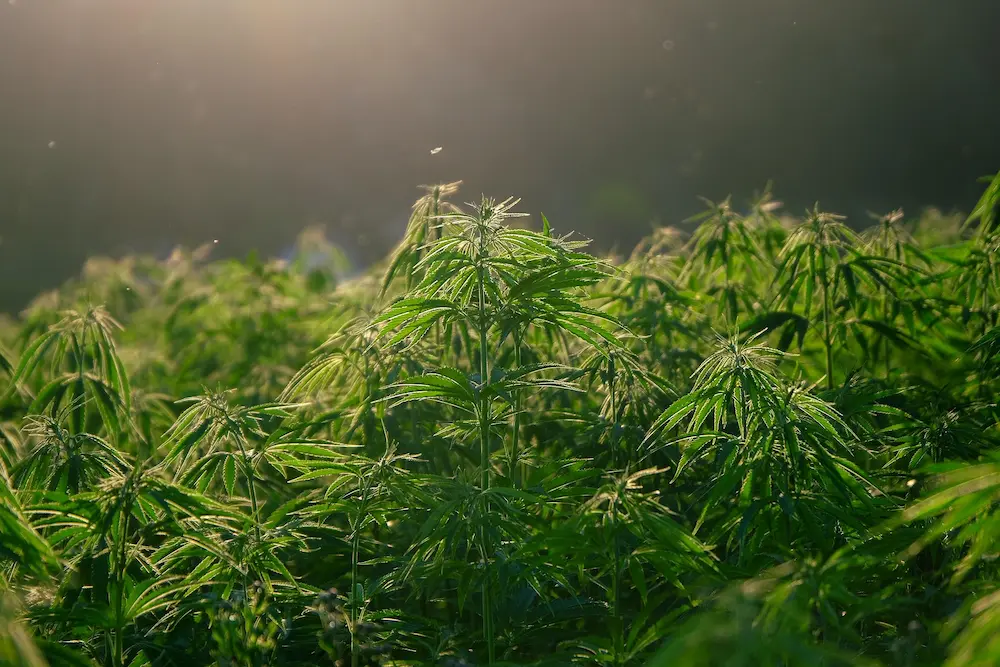
Deciding where to plant your outdoor crop dictates how much control you will have over your environment. Growing in pots or fabric bags gives you complete control over the medium since you can fill containers with pre-sterilized, nutrient-dense commercial soil. The downside is that root expansion is physically restricted by the container size, which can ultimately limit how large your plants grow, and they will demand more frequent watering.
On the flip side, planting directly in the ground gives roots infinite room to expand, allowing plants to reach massive proportions while benefiting naturally from stable underground water tables. Of course, you are also exposing your plants directly to local ground pests, diseases, and whatever native soil quality your yard happens to possess.
Final Thoughts
Preparing your outdoor medium takes real labor, but your harvest will reward you for the effort. Take the time to evaluate your soil texture, check your pH, and set up your nutritional baseline early. Keep it green, our fellow stoners.