
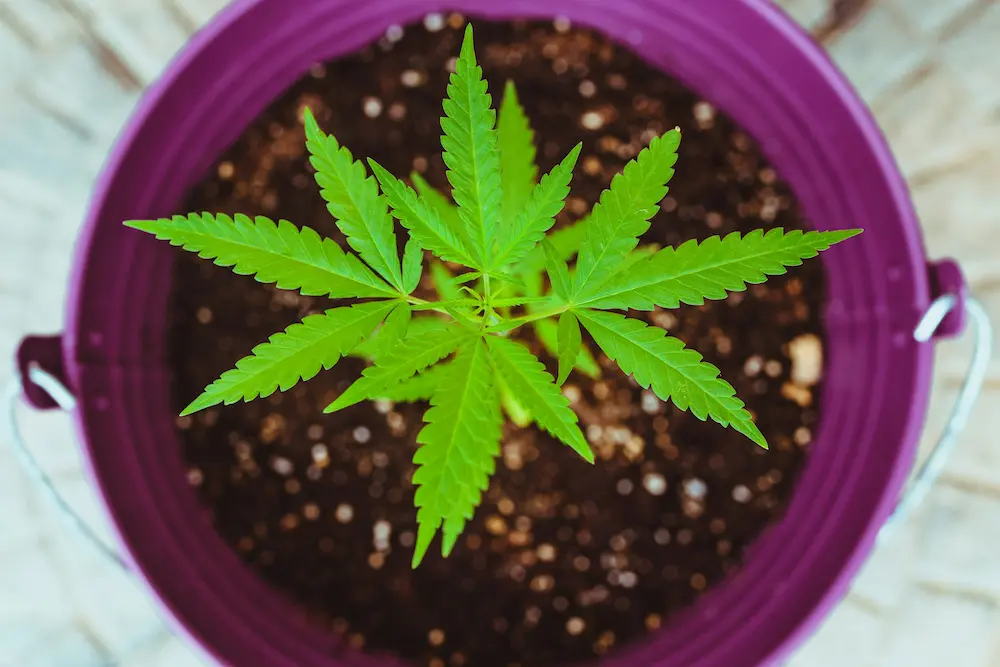

When and Why to Repot: The Complete Guide to Transplanting Cannabis
Once you have successfully popped your seeds using the paper towel method for germinating cannabis seeds or started them in peat pellets, your cannabis plants will quickly embark on a rapid phase of early growth. As those fragile seedlings stretch their leaves and expand their underground networks, they will inevitably outgrow their initial enclosures. This brings us to one of the most critical maintenance tasks in cultivation: transplanting cannabis plants.
Doing this procedure correctly sets the stage for explosive vegetative growth, while a botched transplant can shock your plants, stunt their development, or introduce unwanted root diseases. Whether you are moving a seedling out of a solo cup or stepping a thriving vegetative plant up into its final home, mastering the art of the repot is a rite of passage every grower must learn.
Why and When Should You Transplant Cannabis?
Cannabis plants thrive when their root systems have adequate room to expand, breathe, and forage for water and nutrients. Sticking a plant in a tiny container for too long causes it to become root-bound, meaning the roots run out of space, begin tightly circling the interior perimeter of the pot, and eventually choke themselves out.
- Digital Soil Moisture Meter – Never guess when your medium is drying out too fast; track moisture levels instantly.
- Gardening Prips & Plant Training Ties Kit – Keep your workspace organized and handle early plant maintenance efficiently.
Key Signs Your Plant Needs More Room
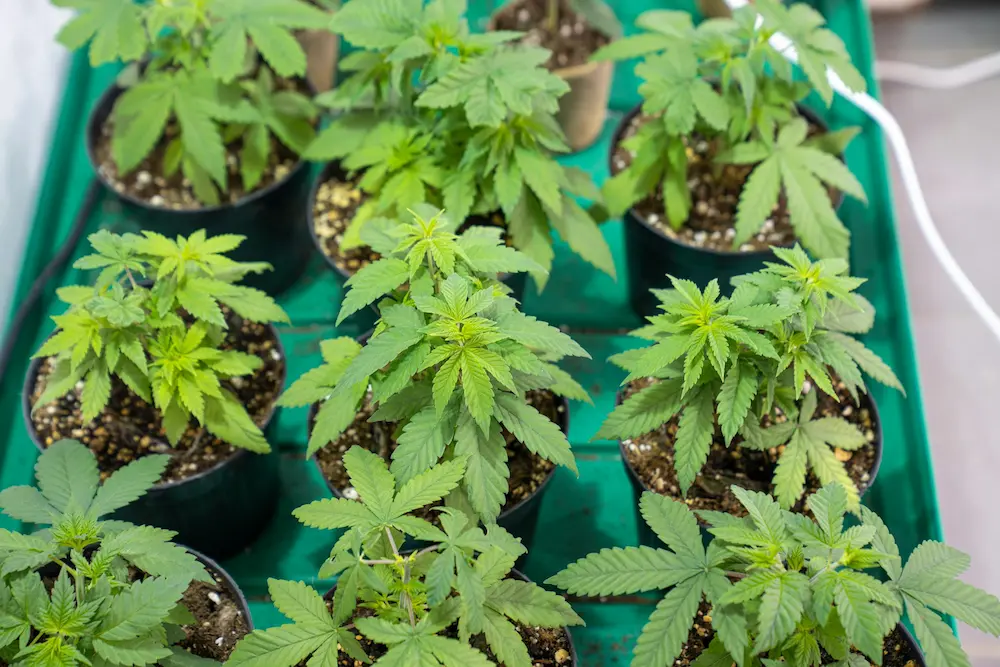
Instead of guessing, let your plants tell you when they are ready for a bigger pot. Look for these classic visual indicators:
- Roots Emerging from Drainage Holes: If you see white roots poking out of the bottom of your nursery pot, the root system has hit maximum capacity.
- Rapid Dry-Back Times: When a container that used to stay damp for three days suddenly dries out completely within 24 hours, the plant is drinking heavily and has outgrown its soil mass.
- Stalled Growth and Pale Leaves: If growth abruptly slows down despite proper feeding and lighting, the roots are likely cramped and struggling to absorb micronutrients.
- Node and Leaf Development: For seedlings starting in small starter cubes or cups, moving them once they have developed 3 to 4 nodes (sets of true leaves) is usually the sweet spot.
The Golden Rule of Sizing Up: Never jump a tiny seedling straight into a massive 10-gallon smart pot. A small root system cannot drink enough water to keep a giant block of soil from staying soggy for days, which drastically increases the risk of root rot. Instead, step up gradually—for example, moving from a starter cube to a 1-quart pot, then to a 2 or 3-gallon container, and finally to your large final home.
(Note: Autoflowering varieties are the major exception to this rule. Because they have a strict, fast life clock, autoflowers generally hate being transplanted. It is always best to plant autoflower seeds directly into their final container.)
Essential Tools and Materials
Before you touch a single plant, preparation is everything. Cleanliness is paramount to prevent pathogens from attacking fresh, exposed root tissue. Gather the following items before you begin:
- Your new container: Clean and pre-sterilized, filled with fresh, high-quality, airy growing medium (soil, coco coir, or peat mixes).
- Watering can or spray bottle: Filled with pH-balanced water.
- Optional root stimulator or mycorrhizae: Beneficial microbes help establish rapid root contact in the new medium.
- Clean workspace: A shaded, indoor area away from harsh, direct sunlight or intense high-intensity discharge grow lights.
Step-by-Step Guide to Transplanting Cannabis
Step 1: Pre-Water Your Plants (24 Hours Prior)
Water your cannabis plant lightly a day or two before you plan to transplant. You want the root ball to be moist like a wrung-out sponge, not bone-dry (which causes the soil to crumble apart) and not soaking wet (which makes the root ball heavy and prone to tearing under its own weight).
Step 2: Prepare the New Container
Fill your new, larger container with your pre-moistened growing medium, leaving enough space at the top. To create a perfect fit, take your old container and press it directly down into the center of the new medium to form a custom planting hole. Pull the old pot out, and you will be left with a depression that matches your root ball precisely.
- Organic Mycorrhptal Inoculant Powder – Dust your planting hole with beneficial fungi to accelerate root bonding instantly.
Step 3: Gently Free the Plant
Place your hand flat across the top of the existing soil, sliding the main stem gently between your index and middle fingers. Invert the pot completely. Gently tap or squeeze the sides of the flexible nursery pot to break the seal between the container walls and the soil. The entire root ball should slide smoothly out into your palm. Never pull a cannabis plant upward by its stem, as this can snap the stalk or rip vital root structures.
Step 4: Inspect and Place the Root Ball
Lower the root ball carefully into the pre-made hole in your new container. The top surface of the root ball should sit flush or slightly below the surrounding level of the new medium.
- If you are dealing with a slightly stretched, leggy seedling, you can bury the stem a little deeper (up near the first set of lower leaves), as cannabis readily grows secondary roots along buried stem tissue.
- If the plant is heavily root-bound with a tight, matted layer of circling roots, use your gloved fingers to gently tease and loosen the outer edge of the roots so they can break outward into the new soil.
Step 5: Backfill and Firm Lightly
Fill in any remaining gaps around the sides of the root ball with fresh medium. Pat the surface down lightly with your fingertips to secure the plant and close any massive air pockets. Do not pack the soil down like concrete; young roots need loose, oxygen-rich pockets to expand efficiently.
Step 6: Water In and Settle
Give your newly transplanted cannabis a moderate, thorough watering with pH-balanced water. This helps settle the loose soil particles snugly around the root zone. Avoid over-saturating the entire pot if the container is large, as the surrounding dry soil will draw moisture outward while the inner root zone adjusts.
Post-Transplant Care: Easing Transplant Shock
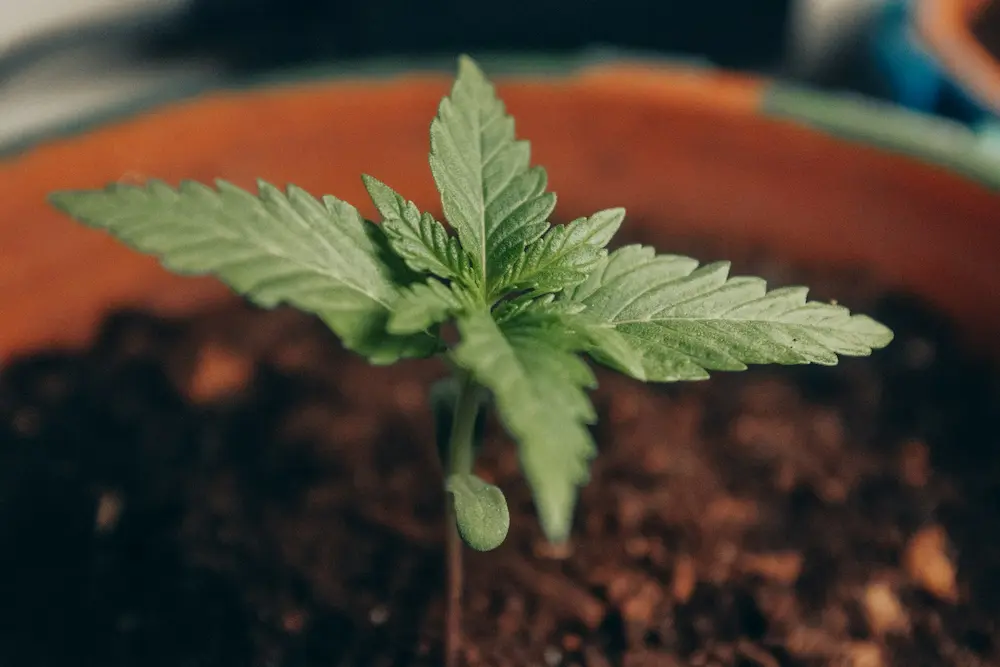
Even with the gentlest hands, moving a plant causes a brief moment of physiological stress known as transplant shock. To help your cannabis recover smoothly within 48 to 72 hours, follow these golden rules:
- Hold Off on Heavy Nutrients: Do not feed your plant high-dose liquid fertilizers immediately after a transplant. Fresh soil or premium potting mixes already contain enough baseline nutrition to sustain the plant for the first week or two. Pushing heavy nutrients onto recovering roots will cause fertilizer burn.
- Regulate Environment and Lighting: Keep your temperature (72°F to 78°F) and humidity (60% to 70%) stable. If growing indoors, avoid cranking your LED grow lights to maximum intensity right away; give the plant a day or two under gentler light levels to recuperate.
- Pause Training: Put a temporary halt on high-stress training (HST), topping, or defoliation for at least a week until the plant resumes active, visible upward growth.
By treating your root systems with care and respecting the plant's natural timeline, transplanting transforms from a stressful chore into a seamless stepping stone toward a heavy, high-yielding harvest.
Once your plants have bounced back from transplant shock and entered full vegetative growth, you can start shaping their canopy using techniques like Low Stress Training (LST) to maximize your future yields. And when you finally cross the finish line months later, make sure to check out our complete guide on curing cannabis to lock in the ultimate flavor and potency.