

Master the Art of Indoor Cultivation: Your Ultimate Blueprint for Building the Perfect Grow Space
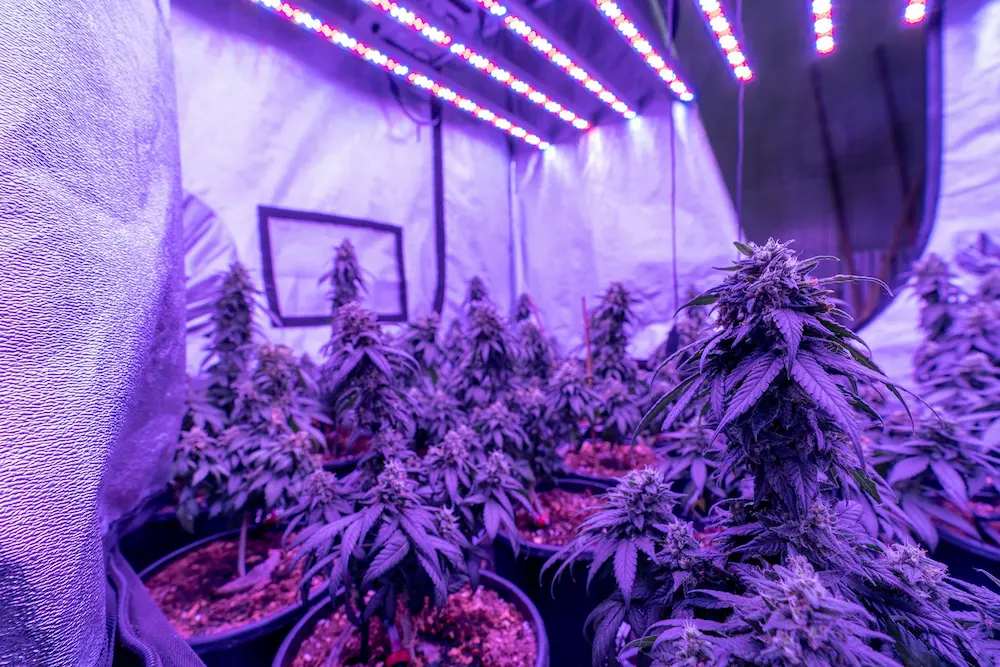
Stepping into indoor cultivation is one of the most exciting and rewarding milestones for any passionate gardener. Whether you are building out a dedicated spare bedroom, converting a basement corner, or setting up a compact grow tent in a spare closet, controlling your environment is the absolute key to unlocking massive, high-quality yields.
If you are wondering how to set up a grow tent or how to make a grow room from scratch, this comprehensive guide will walk you through spatial planning, equipment selection, advanced ventilation strategies, electrical safety, and dialing in your microclimate.
Step 1: Choosing and Optimizing Your Space
Before buying a single piece of gear, you need to evaluate your physical environment. Your space will dictate the scale of your operation, the amount of heat you have to manage, and the specific equipment you need to purchase.
The Grow Tent Route
For most beginners, starting with a grow tent is the gold standard. Tents provide a self-contained, highly reflective environment that isolates your plants from external light pollution, dust, and pests. They come with built-in port holes for ducting and electrical cords, making setup straightforward. Popular beginner sizes range from 2x2 feet (perfect for 1 to 2 compact plants) up to 4x4 feet (ideal for a 4 to 6 plant canopy). Furthermore, tents allow you to easily contain humidity and manage air direction without modifying your home's structural walls.
The Dedicated Grow Room Route
Converting a spare bedroom, walk-in closet, or section of a basement offers incredible layout flexibility and more vertical headroom. However, building a room from scratch requires extra preparation. You will need to spend time sealing light leaks around doors and windows, painting walls flat white (or hanging reflective Panda film), and ensuring your flooring is completely waterproof to handle accidental water spills or nutrient solution runoff during daily feedings.
Looking for a reliable, heavy-duty foundation? Check out top-rated starter kits like the AC Infinity CloudLab Grow Tent Systems, which bundle durable frames with matching inline fans and smart controllers.
Step 2: Critical Electrical Safety and Power Management
One of the most overlooked aspects of learning how to make a grow room or tent is ensuring your electrical grid can handle the load. Drawing power for high-intensity lights, powerful inline fans, dehumidifiers, and air conditioners can easily overload standard household circuits if you aren't careful.
Understanding Circuit Amperage
Most standard residential circuits in North America are rated for 15 amps (at 120 volts), meaning they can safely handle a maximum continuous load of about 1,440 watts to 1,800 watts. Exceeding this limit will trip your breaker or, worse, create an electrical fire hazard.
- Calculate Your Wattage: Add up the total wattage of your LED grow lights, fans, pumps, and climate control units.
- Never Daisy-Chain Surge Protectors: Always plug high-draw equipment directly into heavy-duty wall outlets or utilize dedicated power distribution units equipped with built-in circuit breakers.
- Protect Against Moisture: Electricity and water are a dangerous mix. Always install your power strips, timers, and smart controllers off the floor—ideally mounted to the wall or hanging from the tent frame—to protect them from accidental spills or high humidity condensation.
Step 3: Mastering Airflow and Ventilation
Stagnant air is the silent killer of indoor gardens. Without proper air exchange, your plants will quickly starve for carbon dioxide, room temperatures will skyrocket, and trapped humidity will invite destructive molds like powdery mildew and bud rot.
To build a bulletproof ventilation system, you need three core hardware components: an inline duct fan, a carbon filter, and duct tubing.
Calculating Your CFM (Cubic Feet per Minute)
Your inline fan must be powerful enough to completely evacuate and replace all the air inside your space every 1 to 3 minutes. To figure out what size fan you need:
- Calculate your room or tent volume: Volume = Length \times Width \times Height.
- Account for resistance: Carbon filters, long runs of ducting, and 90-degree bends reduce fan efficiency by roughly 25% to 30%. Always oversize your fan slightly and pair it with a variable speed controller so you can dial back the noise while maintaining total control.
Step-by-Step Ventilation Installation
- Hang the Carbon Filter: Position your carbon filter at the highest point inside your tent or room. Heat and pungent odors naturally rise to the ceiling, making this the most efficient capture point. Use heavy-duty rope ratchets to secure it securely to the ceiling frame.
- Mount the Inline Fan: You can place the inline fan inside or outside the tent. Mounting it outside the top exhaust port often saves valuable vertical headroom and significantly reduces mechanical noise. Ensure the directional airflow arrow points out of space.
- Connect with Ducting and Clamps: Run aluminum or insulated ducting from the filter to the fan, and out to your room's exterior exhaust point. Use metal duct clamps and aluminum ventilation tape to secure airtight seals. Air leaks destroy negative pressure and let odors escape.
- Establish Passive Intake: Leave the bottom mesh intake vents of your tent open (with insect screens engaged). The powerful exhaust fan will pull fresh air in passively, maintaining a slight negative pressure that keeps odors locked inside.
For whisper-quiet operation and smartphone automation, look into high-efficiency EC-motor inline fans such as the Cloudline Series by AC Infinity.
Step 4: Lighting and Environmental Controls
Once your structural frame and ventilation are locked in, you need to outfit your space with the brain and muscle of your indoor ecosystem.
Selecting Your Grow Lights
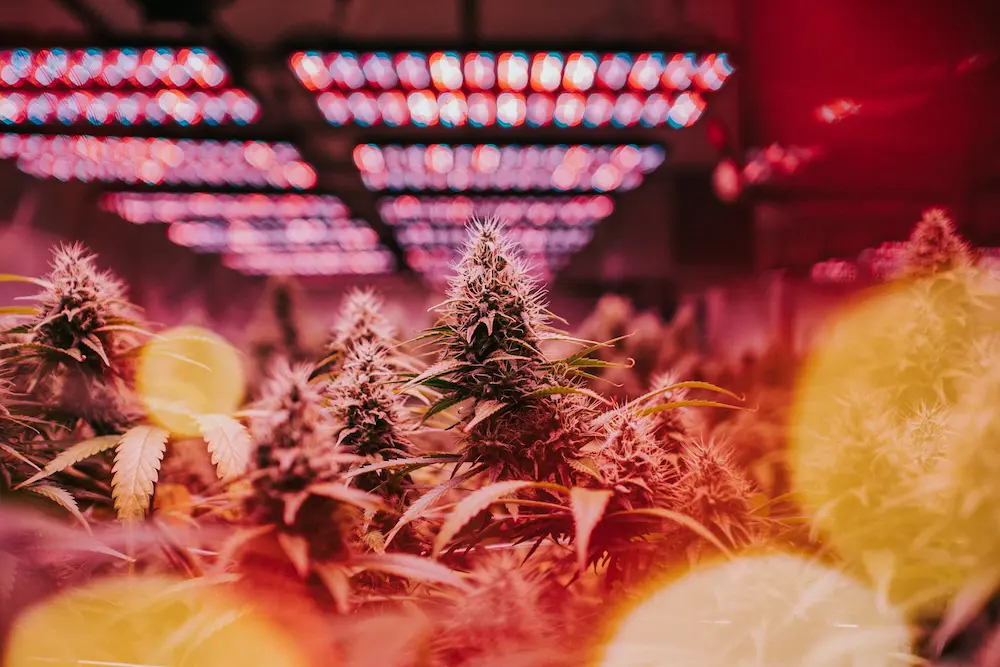
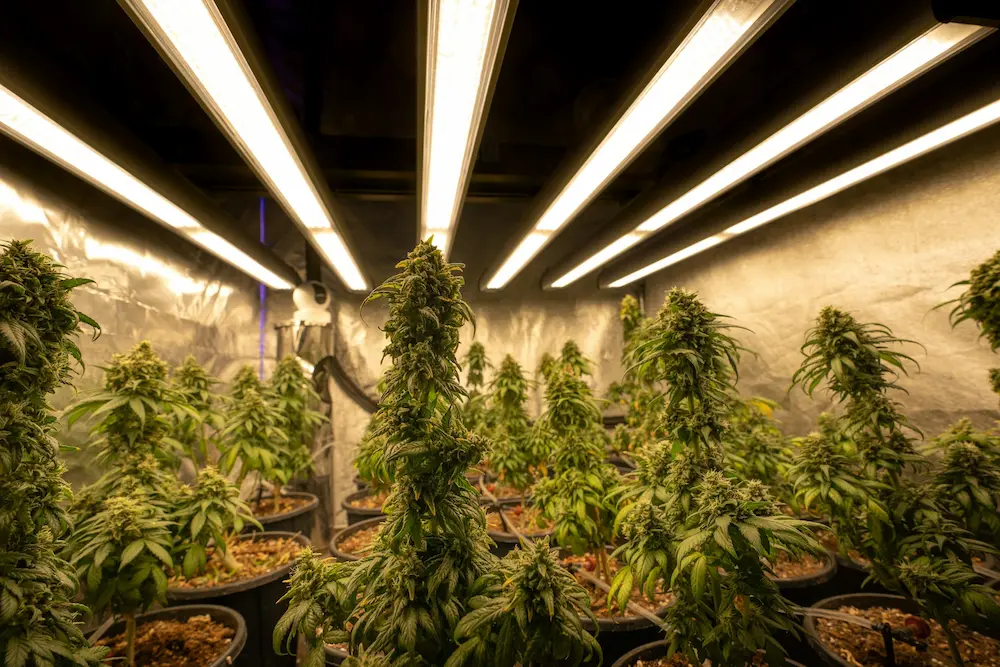
Full-spectrum LED fixtures have largely replaced old-school HPS (High-Pressure Sodium) lights due to their superior energy efficiency, longer lifespan, and much lower heat output. Hang your light fixture using adjustable rope hangers so you can easily raise or lower it as your plants grow through their vegetative and flowering stages. Proper light intensity (measured in PPFD) ensures your plants build dense, resinous structures.
Have a look at out selection of grow lights that will fit any set up
Air Circulation and Monitoring
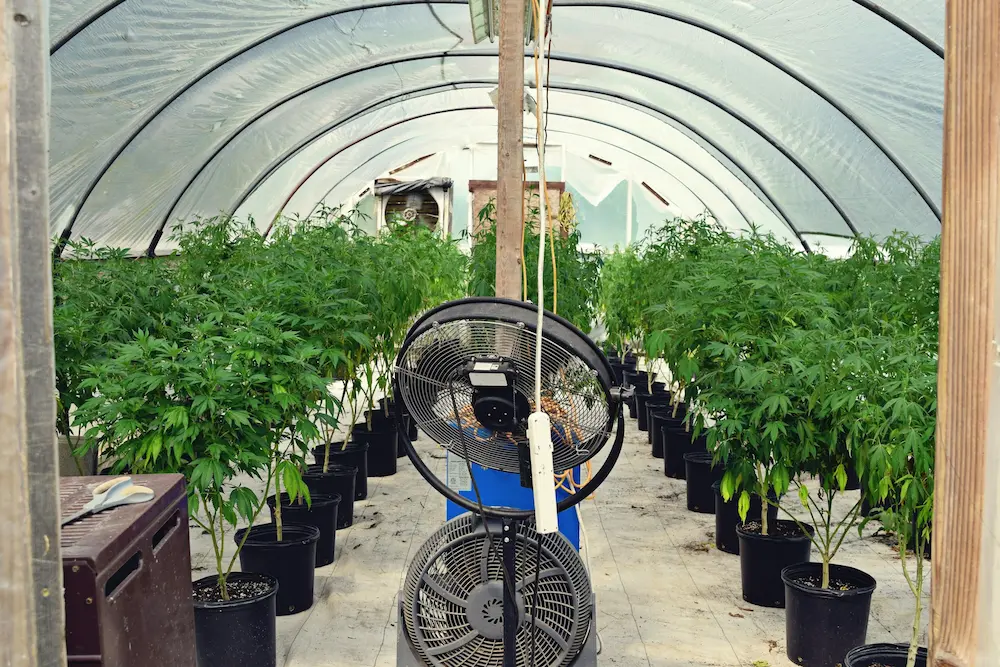
- Clip-On Circulation Fans: Place 1 to 2 oscillating clip-on fans beneath and above your canopy. Moving air strengthens plant stems, prevents micro-climates from forming, and deters flying pests like fungus gnats.
- Digital Hygrometer/Thermometer: Hang a monitor right at canopy level to track your temperature and relative humidity around the clock.
For a broader overview of structuring your entire indoor ecosystem from seed to harvest, check out our comprehensive Growing Indoors Guide.
Step 5: Time to Fire It Up and Test Your Climate
With your room or tent fully constructed and wired, do not rush to put plants inside immediately. Instead, run your ventilation, lights, and fans empty for 24 to 48 hours. Monitor the minimum and maximum temperature and humidity peaks to ensure your environment stays dialed in.
Ideally, you want your vegetative environment sitting around 22°C to 28°C with relative humidity between 50% and 70%. Once your climate is stable and holding steady, your indoor ecosystem is officially ready for action.
Next Step in Your Journey: Now that your build is complete, you are ready to kick off your cycle. Head over to our step-by-step tutorial on Germinating Cannabis Seeds to start your first batch of seedlings off right!
As you push through your grow cycle, keep our post-harvest guides bookmarked for when it's time to reap your hard-earned rewards:
- Drying Cannabis Properly
- Trimming Techniques for Maximum Bag Appeal
- The Ultimate Guide to Curing Cannabis